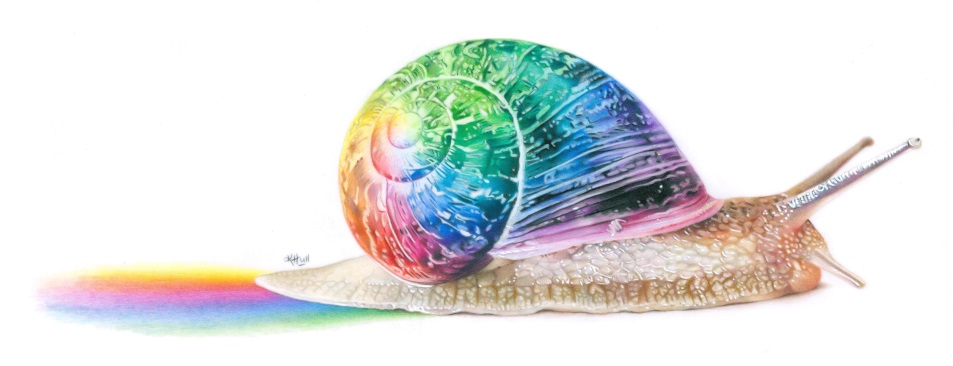
Information on Drafting film
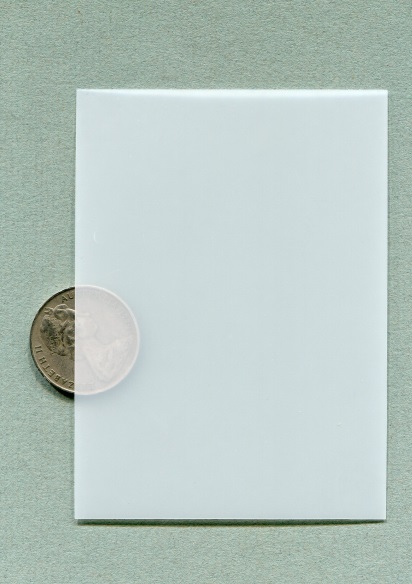
Drafting film is a 100% polyester surface, used traditionally by draftsmen and architects to do plans on, but these days it is gaining increasing popularity as a drawing surface with artists. It is archival, translucent, non-yellowing, stable under different temperatures and loves coloured pencil. Drafting film is sold under a range of brand names in different countries. I have often heard drafting film referred to as Mylar, but Mylar is a generic term referring to any polyester film or plastic sheet and does not specifically refer to drafting film which has a special matte coating which makes it receptive to coloured pencil, graphite and some inks. Drafting film allows for rapid, vibrant colour laydown, crisp and fine detail and gives a luminous, photographic quality to your artworks. Drafting film is perfect for doing fine detail and line work and is particularly effective for animal artworks and portraits. Because the pencil pigment adheres so quickly to the drafting film surface, portraits of people can be a little more tricky when trying to render smooth skin tones, but it is still possible with a patient and gentle approach. Because of the translucency of the film, you can also work on both sides, giving a layered 3D look to your artworks. You can also back the film onto different coloured backing boards, and you will be amazed how a drawing done on a white background is transformed when different coloured backgrounds are allowed to show through. You can find a range of tutorials on working with drafting film using coloured pencils and other media here.
Different Types of Drafting Film
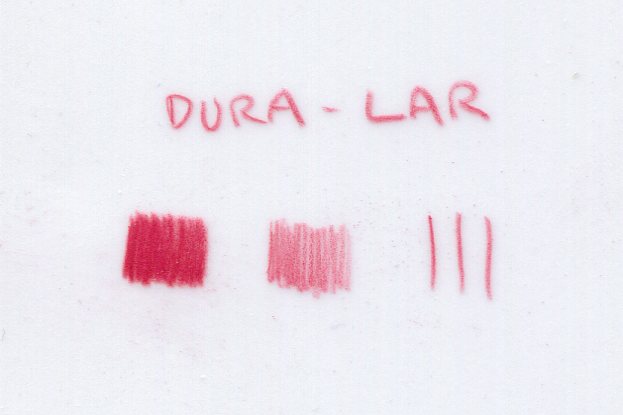
In the US, Grafix offers either a student grade drafting film in pad form under the name of Dura-lar, or their artist grade film, which can be bought either by the sheet or roll from Dick Blick’s. The Duralar has a smoother surface than the drafting film which means, on the down side that it doesn’t accept as many layers as the toothier drafting film, but on the upside you will find your work stays cleaner as it accumulates less dust. Within the UK, drafting film is sold under the brand name Polydraw and this can be purchased in pad form on Amazon. Within Australia the Grafix Drafting film is mostlyonly available in the 0.003” weight (75 Micron) and you can buy it in single sheets from Draftex.
In the image below, you can see a sample swatch of a red Faber Castell Polychromo pencil done on the Dura-lar.
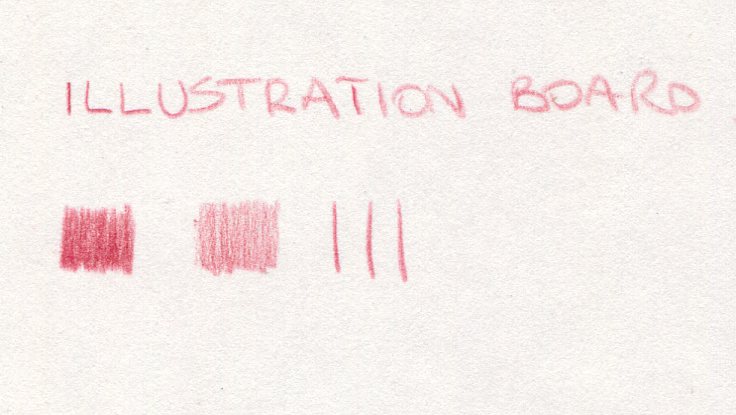
In the sample below, I have used the same pencil on HP Illustration board, which has a smooth surface very similar to drafting film, but it shows how the colour is slightly less saturated on this surface when compared to the drafting film. You would be able to achieve the same level of colour saturation with multiple layers of colour and the illustration board will take more layers than the drafting film.
Vellum
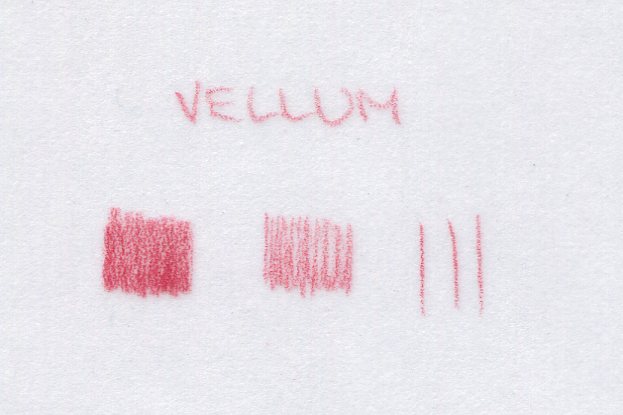
I have sometimes heard drafting film sold and referred to as Vellum. Vellum is not the same as drafting film. Whereas true drafting film is 100% polyester, Vellum (not the leather kind) is usually plasticised cotton. It can look and feel very similar to the film, but it doesn't perform in quite the same way - it is more textured and will buckle with the application of any wet media. Drafting film will not absorb wet media and so it tends to sit on top and true drafting film doesn’t buckle at all if you do apply water to its surface.
Best Pencils to Use on Drafting film
You can use both wax based and oil based pencils on drafting film, but you will find that you get the best adherence with the oil based pencils such as the Faber Castell Polychromos (best adherence of all the pencils) and the Caran D'ache Pablos. Prismacolor Verithin pencils give beautiful crisp detail on the film, but you do need to be careful with these pencils as they have a high clay content and can sometimes scratch the surface of the film. Wax based pencils such as the Prismacolors and the Derwents will still work fine on the film, but will give a softer look. Watercolour pencils may be used dry on the drafting film, but are not effective if you are going to use water with them. Derwent Inktense pencils can be applied with a fairly dry brush and give an interesting result.
Graphite works well on the drafting film, and has both advantages and disadvantages. It smudges and blends like no other surface, giving lovely soft skin tones and shading to portraits. You can also get wonderfully crisp detai. You need to be careful not to pass your hand over any worked areas as they will easily smudge. It can also be challenging to get very dark tonal values when using graphite on the film and so I sometimes use a black coloured pencil in combination with the graphite to achieve the darkest darks. You can get some really interesting effects by applying graphite powder with a brush to the film and also by lifting some of the pigment off again using a kneadable eraser.
With all drafting films, it is advised to work with either a paper towel under the palm of your hand or to work in cotton gloves with the fingers cut out so that you are not leaving skin oils behind on the film which can prevent the pencil from adhering to the film. This is particularly true when you are working with graphite on the film, as you will get unsightly blotches and uneven blending if there are any finger prints or oil deposits left behind.
Erasing on the film
You can erase on drafting film, but you need to use a gentle hand because the tooth can easily be removed with aggressive rubbing. Kneadable erasers are handy for removing grubby marks and tidying up your pencil lines. Battery operated erasers are also quite effective. Mosts erasers will work fine, but it is always best to do a patch test first, depending on the type of film and eraser you are using.
Sgraffito (Scratching the film)
One of the other advantages of working on the film is the way that you can scratch into the surface to bring back highlights or to add whiskers to a pet portrait. In the image below, I have drawn all the hairs around the face of the cat using ink and coloured pencil and have then gone back and used a sharp blade to scratch out some of the hairs on top of the cheeks and also to scratch out the whiskers. This can be a big time saver for pet portrait artists who struggle to reserve the whites for whiskers or to find an effective way of drawing them in later.
.jpg?timestamp=1457427743372)
Applying Fixative
Applying fixative to the drafting film can be a tricky process. Coloured pencil, particularly the Faber Castell Polychomos are unlikely to smudge much on the film and so it really isn't necessary to apply fixative. Because the film is non absorbent, the fixative will sit on the surface as a glaze. If your entire surface is filled in with coloured pencil, then this glaze will be barely visible, but if you have left much of the surface white, then you may find that you are left with a haze that is sometimes blotchy. I used to apply fixative to all my pieces, but found that too many pieces were spoiled after the application of fixative and so no longer bother. You can also find that some of the colours change and bleed with the fixative, particularly the mauves and dark pinks. When working with coloured pencils on the film, you will find that your work looks very shiny and a light application of fixative can matte this down, so if you feel you would prefer to add fixative, then I recommend a very light coat sprayed from a distance of at least 30cm (12 inches) from your artwork. I have come to love the shiny look that the pencils give on the film as it looks like a glossy photo.
Working with graphite on the film however is a different story. The graphite will smudge very easily if the artwork is not fixed or framed straight away. Here again, though, you do need to be very careful as I have finished quite a few commissioned portraits in graphite on the film and then applied fixative only to find that a series of little black speckles appeared all over the potrait. On a couple of occasions I have had to redo the portrait. This seems to be more prevalent when I have used mechanical and carbon based pencils.
Framing your artworks
I am often asked how I back and frame my artworks that have been done on drafting film. Mostly I use acid free tape and attach the film to foam core and I always frame the artworks with mat board, so that the film is not resting against the glass. If you prefer not to tape your artwork, you can also use photo corners, attach these to your backing board or foam core and sit the film inside.
Purchasing Drafting Film
Within the UK, you can purchase Grafix Drafting film and also Duralar from Jackson's Art (affiliate links) at a very reasonable price.
Art tutorials
You will find a comprehensive list of tutorials on working with both coloured pencils and graphite on drafting film on the Tutorials and Kits pages.
If you have any further questions about drafting film or any of the other techniques and mediums mentioned in my tutorials, please don't hesitate to contact me. I will be adding more sections to the information page in the coming months based on questions that I get asked the most.
Get 50% off my Craftsy Class here
Coupon Details: Get 50% off the full retail price of select Craftsy classes taught by Karen Hull. Cannot be combined with any other coupons. Expires April 26, 2017.
